This blog post will cover how I developed Blindsist app for Xhacknight.
The app was developed using Xamarin.Forms, targeting 3 major platforms (iOS, Android and Windows Phone) same time.
Blindsist is a simple one page application. Objective of the application is taking a photo using Smartphone, The photo is then uploaded to IBM Bluemix using REST Api. IBM Bluemix returns the data in Json format, which will be parsed and spoken out using Native Text to Speech services.
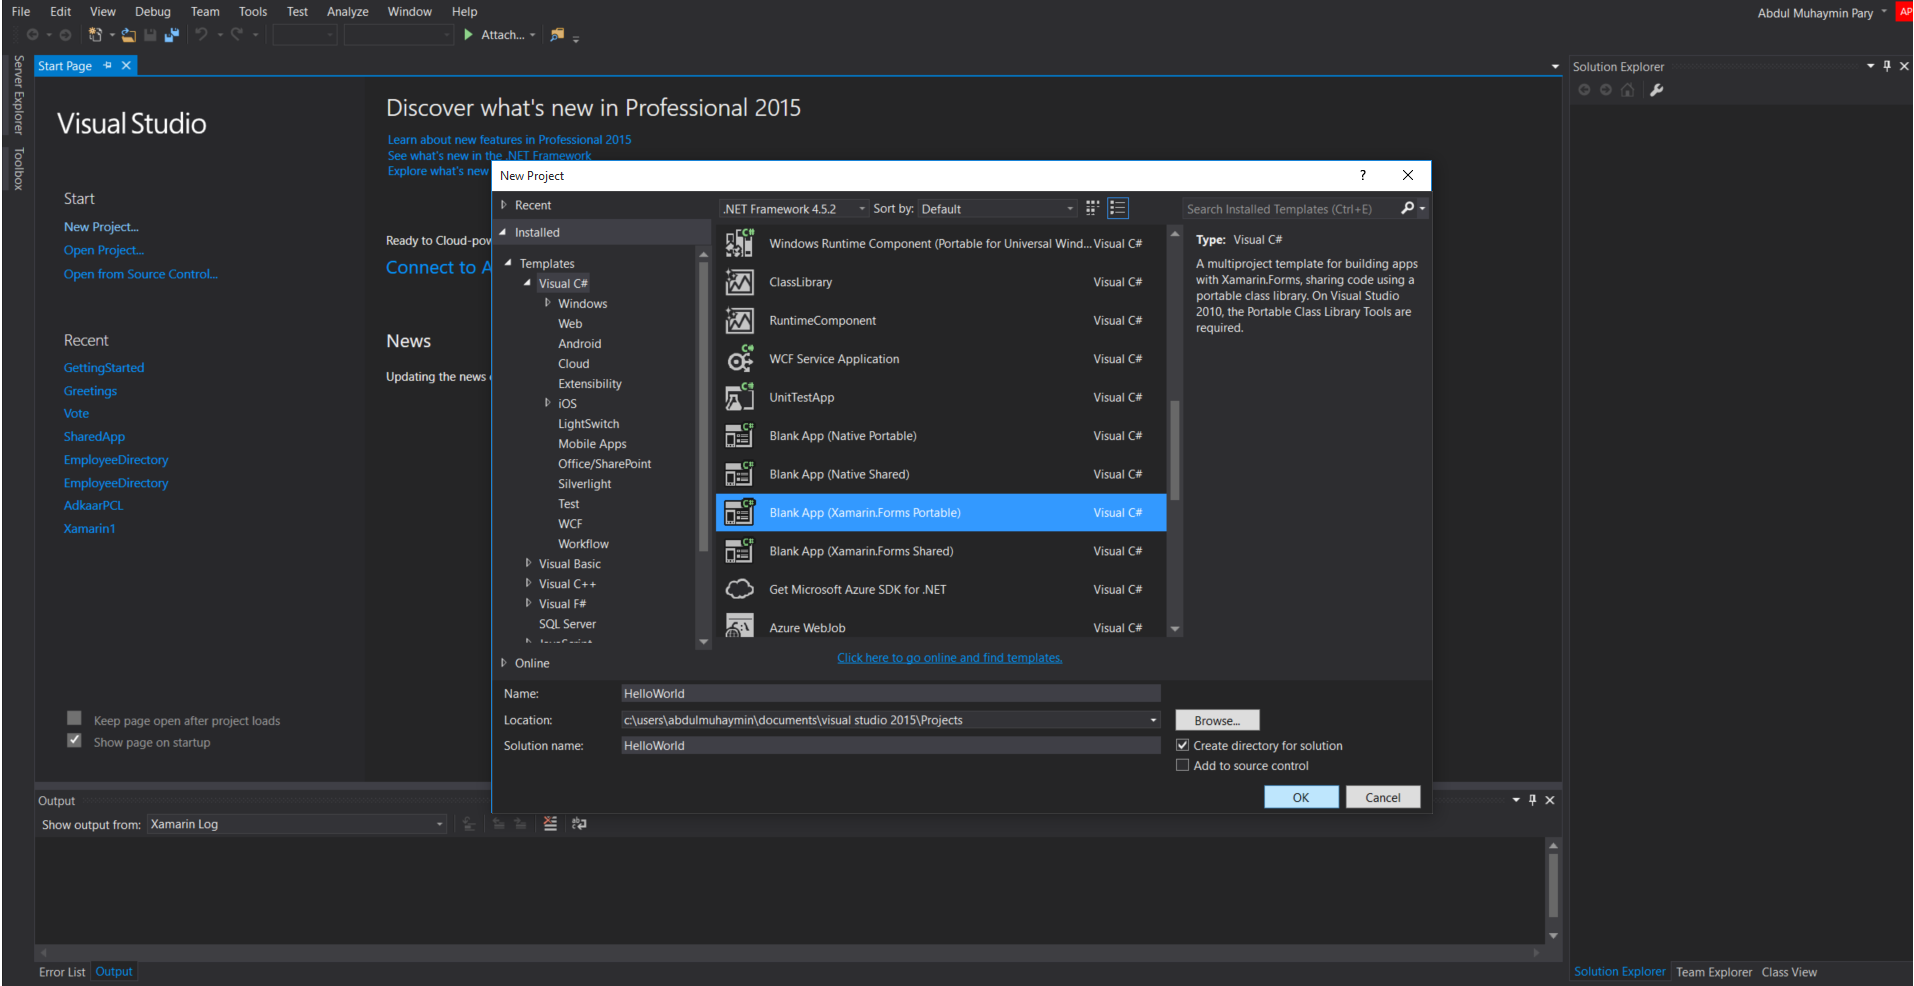
Open a new Xamarin.Forms Portable Class Project.
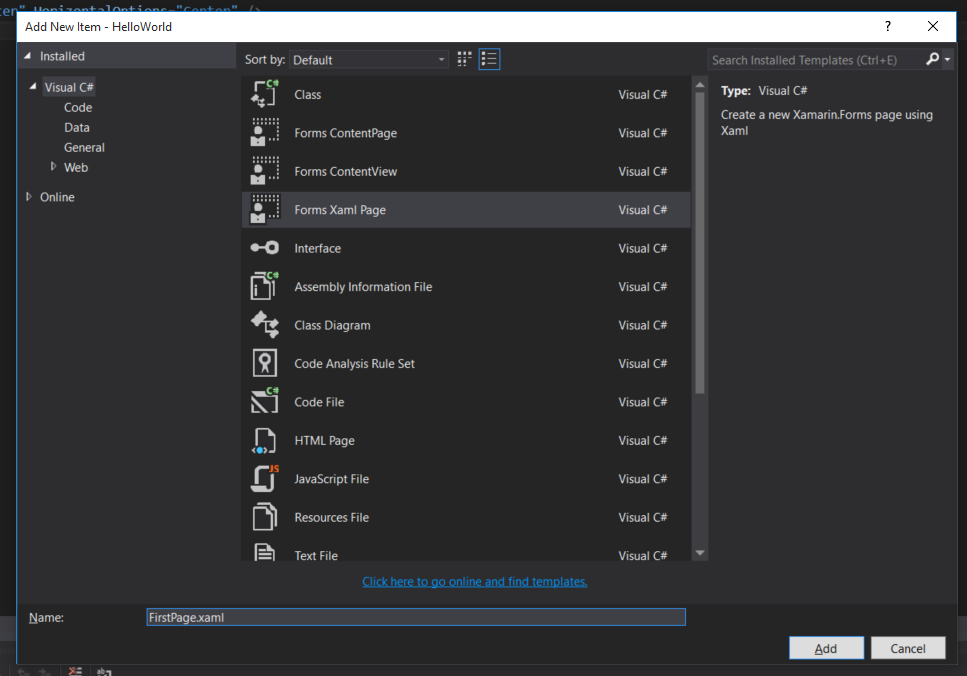
Right click on the Project Blindsist (Portable), click Add new Item, Select Forms Xaml Page, name it ScanPage.xaml
Update the XAML content in ScanPage as below
|
1 2 3 4 5 6 7 8 9 10 11 12 13 14 15 16 17 18 19 20 |
<?xml version="1.0" encoding="utf-8" ?> <ContentPage xmlns="http://xamarin.com/schemas/2014/forms" xmlns:x="http://schemas.microsoft.com/winfx/2009/xaml" x:Class="Blindist.ScanPage"> <Grid BackgroundColor="#dbdef0" Padding="0" RowSpacing="0" ColumnSpacing="0" VerticalOptions="FillAndExpand"> <Grid.RowDefinitions> <RowDefinition Height="150" /> <RowDefinition Height="*" /> </Grid.RowDefinitions> <Image Source="logo.png" Grid.Row="0" BackgroundColor="#101536"/> <StackLayout Grid.Row="1"> <Button x:Name="ScanButton" HeightRequest="650" Text="Scan the environment" Clicked="ScanButtonClicked" BackgroundColor="#27327e"></Button> <Image WidthRequest="50" HeightRequest="50" x:Name="image"/> </StackLayout> </Grid> </ContentPage> |
What it basically does is create a Button Called “ScanButton” which on click trigger event handler called “ScanButtonClicked”.
Let us look to ScanPage.xaml.cs for C# code!
In the constructor ScanPage() write following Code.
|
1 |
CrossTextToSpeech.Current.Speak("Hello there, I am here to help you, Please click the screen two times with 5 second gap for knowing what is in front of you. Point your Smartphone camera to the direction required."); |
For this to work, we have to add a awesome library developed by JamesMontemagno.
It can be found here https://www.nuget.org/packages/Xam.Plugins.TextToSpeech/
To install, right click project, Manage Nuget Package, Search for Xam.Plugins.TextToSpeech, install it in every individual projects.
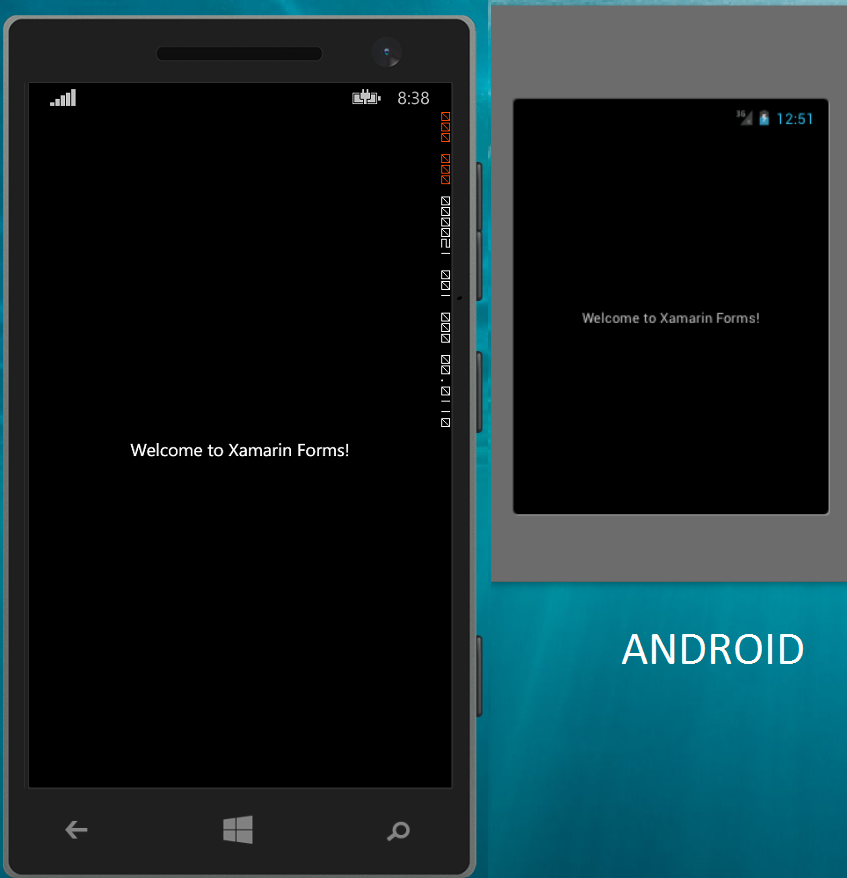
So when the app starts up, It starts speaking introduction to visually impaired user.
Next is adding Button Clicked event. Just copy this code in your ScanPage.xaml.cs
|
1 2 3 4 |
async void ScanButtonClicked(object sender, EventArgs args) { //will update soon } |
Now right click your Portable class project, right click, add new item. Add new class file, name it Library.cs
Add following data members.
|
1 2 3 4 5 6 7 8 |
public string error { get; set; } // to update error in fronted public byte[] imgraw { get; set; } // contains Byte[] format Image to be sent to Watson public ImageSource img { get; set; } private readonly string url = "https://gateway.watsonplatform.net/visual-recognition-beta/api"; //Create Bluemix account for Username/password private readonly string username = "your-user-name-here"; private readonly string password = "your-password-here"; |
Now add a Member function GetImage() for Getting Image from Camera, The specialty of coming code is that it works in all 3 platforms with single code. Thanks to another library, which is available in Nuget. Search for Xam.Plugin.Media and install in every projects.
|
1 2 3 4 5 6 7 8 9 10 11 12 13 14 15 16 17 18 19 20 21 22 23 24 25 26 27 28 29 30 31 32 33 |
public async Task<ImageProcess> GetImage() { if (!CrossMedia.Current.IsCameraAvailable || !CrossMedia.Current.IsPickPhotoSupported) { ImageProcess ob = new ImageProcess() { error = "Oh No ! No Camera.. I can't access your camera", imgraw = null, img = null }; return ob; } var file = await CrossMedia.Current.TakePhotoAsync(new Media.Plugin.Abstractions.StoreCameraMediaOptions { Directory = "Sample", Name = "test.jpg" }); if (file == null) return null; var imgrawtemp = new BinaryReader(file.GetStream()).ReadBytes((int)file.GetStream().Length); var image = ImageSource.FromStream(() => { var stream = file.GetStream(); file.Dispose(); return stream; }); ImageProcess temp = new ImageProcess() { imgraw = imgrawtemp, error = "Success", img = image }; return temp; } |
It will check whether Camera is available, if not available return a null object with error message embedded.
Else it will create a file, takes a photo from Camera and store as byte[] format, if file is OK, it returns the Image, with Image Url, and Image in byte[] format.
Now add a member function ProcessImage() to process the image by sending to Bluemix Watson Service.
|
1 2 3 4 5 6 7 8 9 10 11 12 13 14 15 16 17 18 19 20 21 22 23 24 25 26 27 28 29 30 31 32 33 34 35 36 37 38 39 40 41 42 43 |
public async Task<string> ProcessImage(byte[] img) { CrossTextToSpeech.Current.Speak("Please Wait while we process your image!"); try { var multiPartContent = new MultipartFormDataContent(); var byteArrayContent = new ByteArrayContent(img); byteArrayContent.Headers.Add("Content-Type", "image/jpeg"); multiPartContent.Add(byteArrayContent, "img_File", "temp.jpg"); // Embed the Image in byte[] format, with "img_File" format with temp.jpg file name. using (var client = new HttpClient()) { CrossTextToSpeech.Current.Speak("Please Wait while we process your image!"); client.DefaultRequestHeaders.Accept.Clear(); client.DefaultRequestHeaders.Authorization = new AuthenticationHeaderValue("Basic", GetBase64CredentialString()); var response = await client.PostAsync("https://gateway.watsonplatform.net/visual-recognition-beta/api/v1/tag/recognize", multiPartContent); CrossTextToSpeech.Current.Speak("Please Wait while we process your image!"); if (response.IsSuccessStatusCode == true) { return await HandleResponseAsync(response); } else { return null; } } } catch (Exception ex) { return null; } } private async Task<string> HandleResponseAsync(HttpResponseMessage response) { string bb = await response.Content.ReadAsStringAsync().ConfigureAwait(false); return bb; // this bb will contain string in json format! } private string GetBase64CredentialString() { var auth = string.Format("{0}:{1}", username,password); return Convert.ToBase64String(Encoding.UTF8.GetBytes(auth)); } |
Each line is commented for understanding what happens there. Atlast we get string bb with Json formatted data from IBM Bluemix with possible results in order of priority.
Now revisit ScanPage.xaml.cs, We have to add “GetPicture()” function on button click. Copy the following code.
|
1 2 3 4 5 6 7 8 9 10 11 12 13 14 15 16 17 18 19 20 21 22 23 24 |
ImageProcess imgtemp = new ImageProcess(); // creates imgttemp object of ImageProcess Class. imgtemp = await imgtemp.GetImage(); // Gets image from Camera to imgtemp if(imgtemp !=null) //if there is something in imgtemp { if(imgtemp.img!=null) // checks whether the image source is empty! { image.Source = imgtemp.img; //Set Image in front end as taken image. string temp = await imgtemp.ProcessImage(img.imgraw); // passes the image in byte[] format to be processed, returns json formatted data of possible outcomes if (temp == null) { CrossTextToSpeech.Current.Speak("I can't connect at the moment, try again!"); return; } //Now temp has json data, we have to parse it } else { await DisplayAlert("Error", imgtemp.error, "Ok"); ScanButton.IsEnabled = true; } } |
Now string temp has the json data, we have to parse it to get the results. Add new class file called Classify.cs in PCL project.
Using http://json2csharp.com we can generate class required for parsing json data from IBM Bluemix service.
|
1 2 3 4 5 6 7 8 9 10 11 12 13 14 15 16 |
public class Label { public string label_name { get; set; } public string label_score { get; set; } } public class Image { public string image_id { get; set; } public string image_name { get; set; } public List<Label> labels { get; set; } } public class RootObject { public List<Image> images { get; set; } } |
To parse json data, again there is a good library called NetwonSoft.Json, obtain it from Nuget, and add it to all projects.
Now we need a simple function to perform deserializing json data.
Create a static class Operations, and a function GetMatch()
|
1 2 3 4 5 6 7 8 9 |
static public class Operations { static public List<Label> GetMatch(string json) { var result = JsonConvert.DeserializeObject<RootObject>(json); // Will deserialize the json data to RootObject type return result.images[0].labels; Return required data to our Button Event Handler. } } |
Now back to ScanPage.xaml.cs, We have temp ready with Json string. Just pass it to Operations.GetMatch() to get the required data back. Add following codes to where you stopped earlier.
|
1 2 3 4 5 |
var labels = Blindist1.Operations.GetMatch(temp); labels = labels.OrderByDescending(x => x.label_score).ToList(); CrossTextToSpeech.Current.Speak("I guess there is " + labels[0].label_name + " in front of you" + "Also there might be " + labels[1].label_name + " in front of you"); ScanButton.IsEnabled = true; |
That’s all.. Try Building and running the project. If you face any errors it might be due to not adding Nuget Package mentioned in this post for all projects, or some other errors. Feel free to ask. Together we can build this project to perfection.
The project is in github, https://github.com/muhaym/Xamarin.Forms-Blind-Assist
Feel free to fork, modify, report errors, ask doubts and do whatever you want with the project for the sake of learning.
Please assist me to add Image Compression, because the image upload to Watson Service and getting response back is taking hell of time now.